Preliminary testing » History » Version 7
« Previous -
Version 7/8
(diff) -
Next » -
Current version
DE GENDRE, Raphaëlle, 03/23/2016 02:58 PM
Sofware installation
The first step was to install the software MPLAB X IDE with the compiler XC 16 and to add all the required libraries and files to start coding on the development board. To do so, we used the tutorial by Tony Colin and Brice Duhautois: https://sourceforge.isae.fr/projects/erasure-codes-for-cubesat-missions/wiki/II%20-%20Tutorial%20-%20Simple%20project%20on%20CubeSat%20Kit
Erasure code tests
In order to get acquainted with the equipment, we tested the code provided by Tony Colin and Brice Duhautois. We downloaded all the necessary files and we put it under a MPLAB X project. We first tested it on the simulator and then we loaded it on the developpement board. We observed the expected results both in the simulator and with the leds on the developpement board.
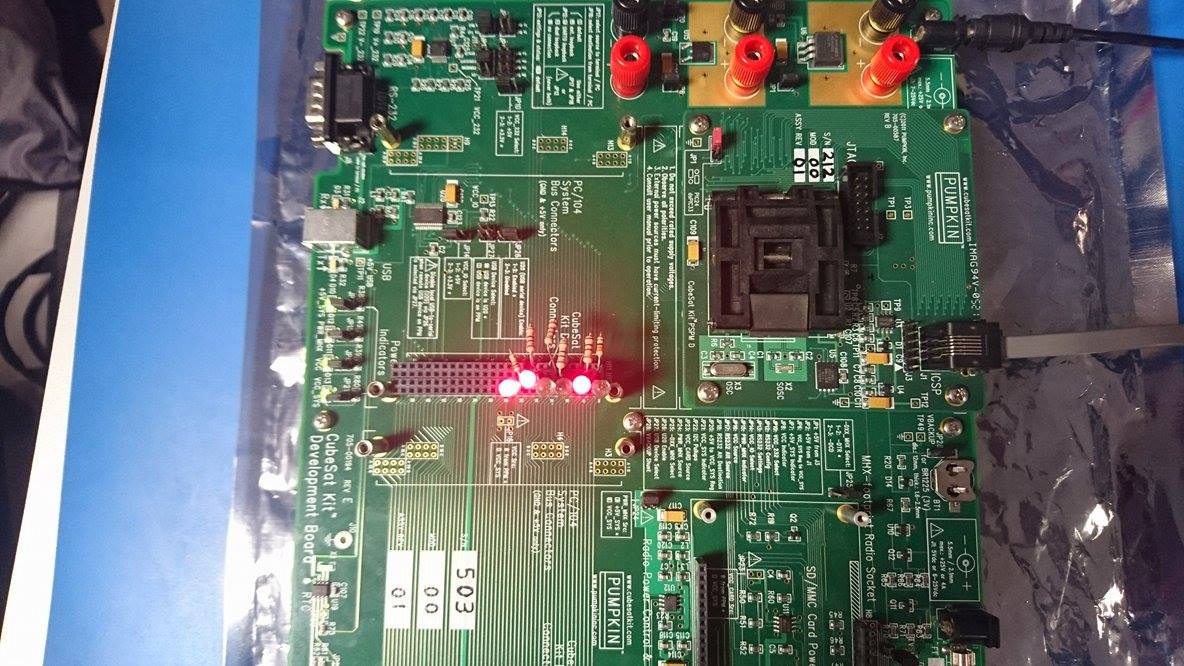
p=. 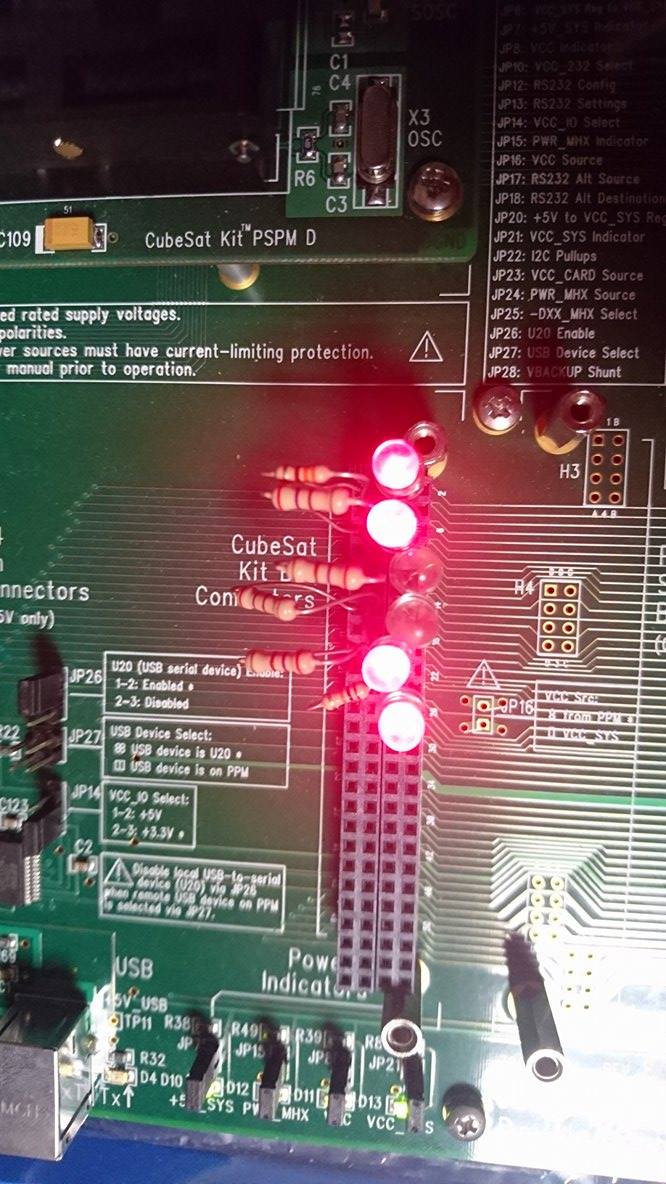
Figure 1: Test with the Erasure Code
Test with the spectrum analyser
We plugged the RF transmitter on the developement board and we loaded a simple program to send a serie of 1 to the RF input.
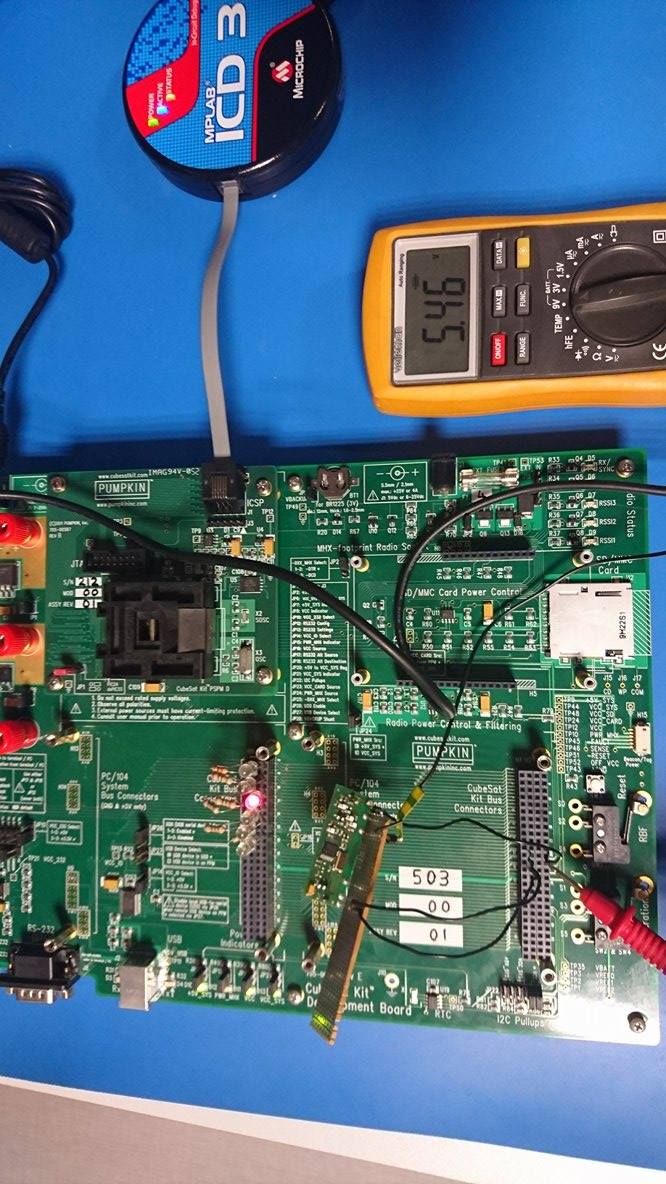
Figure 2: First Test with the RF
When we used this configuration with the conductive plate, we did not receive any signal on the spectrum analyser. Trying to understand where the problem was, we used a voltmeter to check if the RF transmitted received the voltage it was supposed to have (5V). When we did that, we noticed that the voltage was the right one on the wire connected to the plate, but when we looked at the actual transmitter, it did not receive any voltage. We concluded that there was a problem with the card and we decided to weld little plugs to wires to connect the RF:
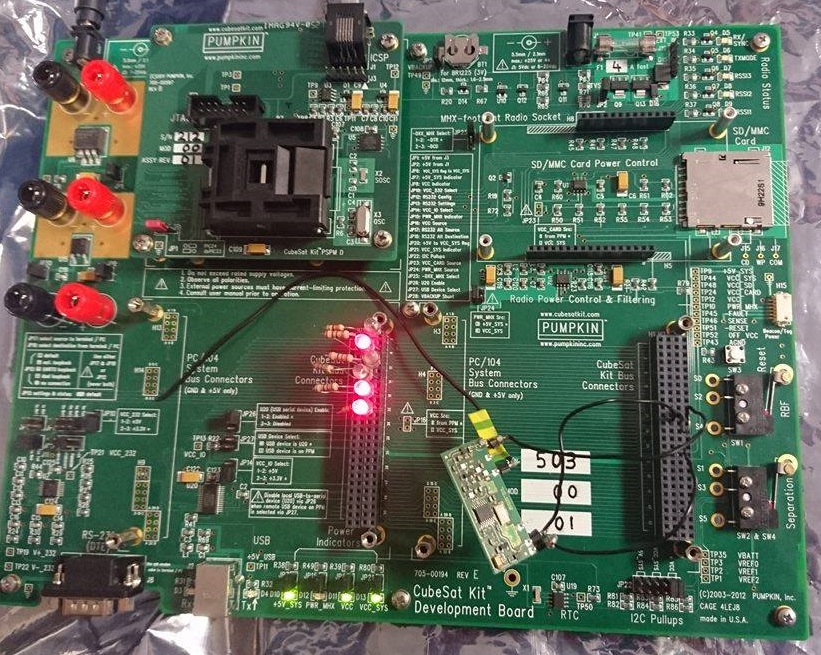
Figure 3: Second set up
With this set-up, we started to receive signal on the spectrum analyser.
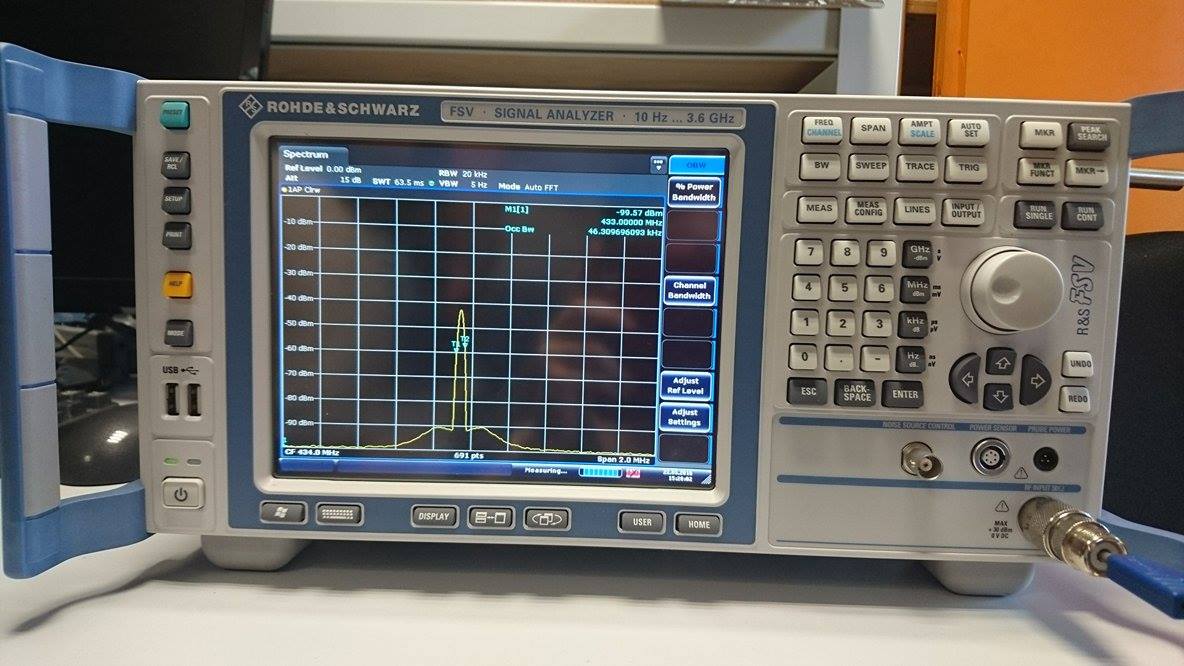
Figure 4: Test with the spectrum analyser
